Setting row level security is a three steps process:
- Disable data value suggestions
- Access the Rule Builder
- Define Rule-Based Row Level Security rules
Disable data value suggestions
When you set Rule-Based Row Level Security, you need to first turn off search suggestions on data values.
When Rule-Based Row Level Security is set, it protects users from seeing data they shouldn’t in worksheets and pinboards. However, the search suggestions are not filtered using Rule-Based Row Level Security, so it is possible someone could see a data value they should not in a search suggestion. Disabling suggestions on data values corrects this. Be sure and do this procedure before setting up Rule-Based Row Level Security.
Contact ThoughtSpot Support, and tell them that you will be setting up Rule-Based Row Level Security. Ask them to disable data value suggestions for you. When this setting has been made, continue with the next procedure.
Access the Rule Builder
To set up rule-based row level security, you first need to access the Rule Builder. To get to the Rule Builder:
-
Click on DATA, on the top navigation bar.

- Select a table from the list by clicking on it. Row level security can only be set on tables and imported data, not on worksheets. The settings you make to the tables will automatically apply to any worksheets or pinboards created on top of them.
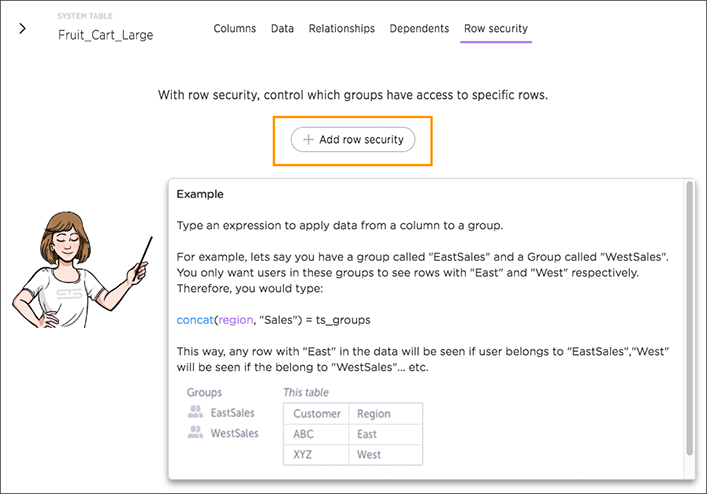
- Click Row security at the top right side of the page.
-
Click the + Add row security button.

-
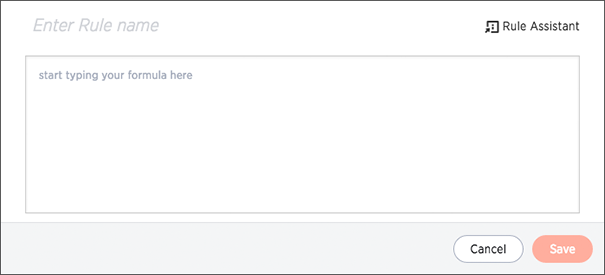
The Rule Builder will appear, where you can define row level security rules.

Define Rule-Based Row Level Security rules
You define row level security by creating an expression that gets evaluated for every row and group combination. This powerful feature can be used with up to thousands of groups. To define a row level security rule:
- Open the Rule Builder.
-
Use the Rule Builder window to enter a row security rule.
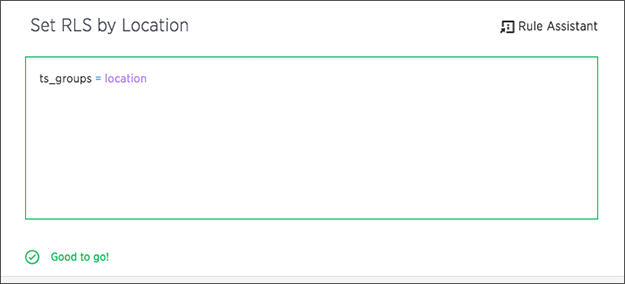
You’ll type in an expression, which gets evaluated for every row and group combination. If the rule evaluates to true for a particular row and group, that group will be able to see that row. Use the variable ts_groups to refer to the group name. For example, the expression ts_groups = location would allow users to only see rows where the value in the location column was the same as their group name.
Notice how this type of security rule is self-maintaining. If you were to later add additional locations, the rule will still work, as long as users are placed in the group that matches their location.

-
Use formulas if you want to define more complex expressions.
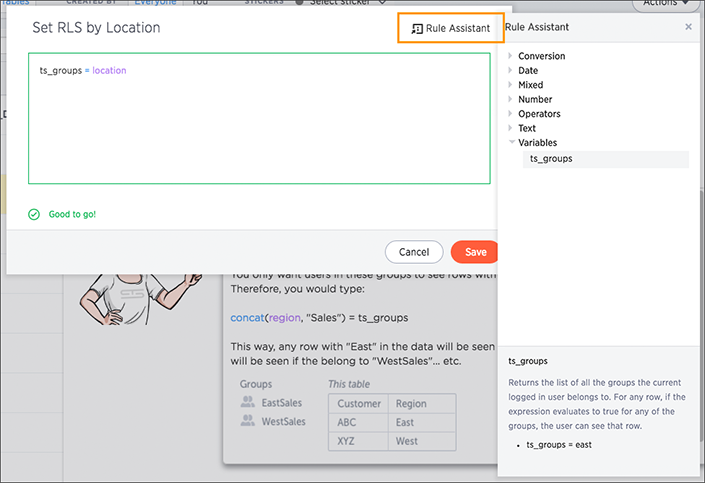
You can see a list of available operators by clicking on Rule Assistant.

-
Use the suggestions to build a valid expression.
When the expression is valid, you’ll see a green indicator at the bottom of the Rule Builder. As you type, you’ll see suggestions for formula syntax, variables, and column names. Using these suggestions can make defining an expression easier, particularly when it comes to specific syntax, like enclosing parameters in parenthesis. And if you can’t remember the exact column name or variable you want to use, the suggestions can help.
-
Click Save.
The rule you created will be shown in the list of rules.
- Click on its name to view or edit the rule. You can also add more rules by clicking + Add.
To test your rule, create a search that includes the column(s) you used in your expression, save it to a pinboard, and share it with all users. Log in as users in different groups, and make sure they are seeing the appropriate rows in the pinboard you created.