This page explains how to install a ThoughtSpot cluster in a VMware VSphere Hypervisor (ESXi) 6.5 environment.
For each hardware node, you must:
- Complete the prerequisites
- Use the ThoughtSpot Open Virtualization Format (OVF) file to create a virtual machine (VM)
- Add hard disks to the VM
This guide explains how to deploy ThoughtSpot on VMware, using ThoughtSpot’s CentOS-based image.You can also deploy ThoughtSpot on VMware using Red Hat Enterprise Linux (RHEL), allowing you to run ThoughtSpot on an RHEL 7.7 or 7.8 image that your organization manages internally. To install ThoughtSpot using RHEL, refer to the RHEL deployment guide.
Prerequisites
This installation process assumes you have already acquired your host machines. You can install on a cluster with any number of nodes. A one node cluster is suitable for a sandbox environment but is insufficient for a production environment. You need at least three nodes for high availability (HA), but there is no limit on the number of nodes.
-
Make sure you have installed the Hypervisor on each of your nodes.
The VM template, by default, captures a 72-core configuration. If your physical host has more than 72 cores, you may want to edit VM to have (
n-2) cores (for a physical host with n cores) to fully take advantage of computing power of the physical host. Extra cores help performance.You must allocate 500 GB or more RAM for each VM.
-
As a best practice, and for better performance, ThoughtSpot recommends that you install the operating system on a solid-state drive, or SSD. For data storage, you can use solid-state drives, local hard drives, or storage as a network (SAN) drives.
-
Ensure that you do not enable the VMware DRS workload manager. It may cause outages for your ThoughtSpot servers. Your VMware administrator must disable VMware DRS.
-
Install VMware tools on each virtual machine, to increase hardware speed and performance.
-
Download and fill out the ThoughtSpot site survey to have a quick reference for any networking information you may need to fill out as you install ThoughtSpot. Ask your network administrator if you need help filling out the site survey.
Use the OVF to Create a VM
-
Download the
ThoughtSpot OVFto a location on an accessible disk. -
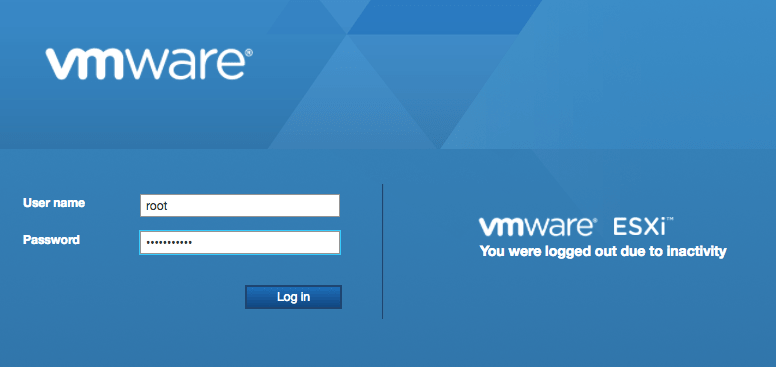
Log in to the ESXi web portal.
-
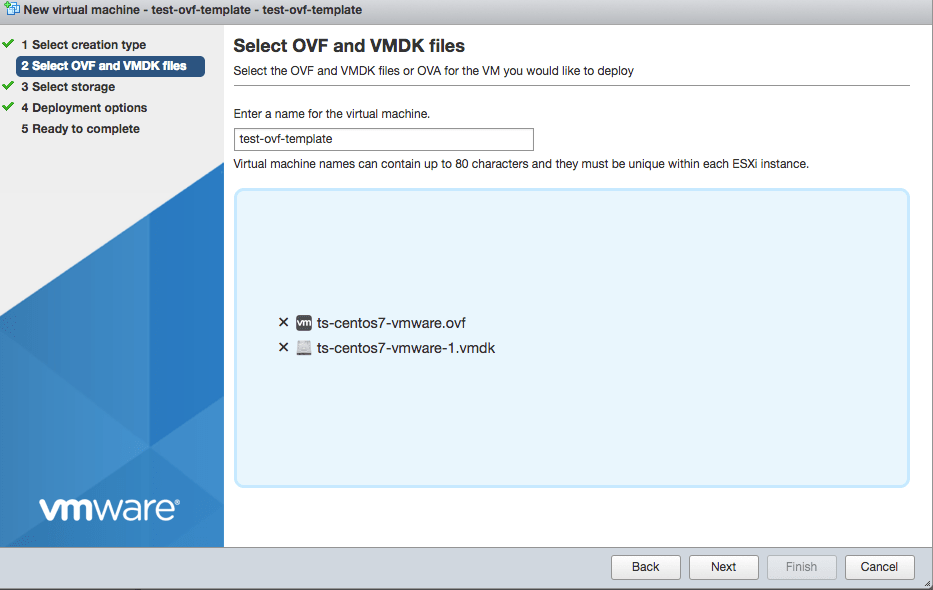
Select Virtual Machines > Create/Register VM.
The system displays the dialog for selecting an OVF template.
-
Select Creation type > deploy a virtual machine from an OVF or OVA. Click Next.
-
Upload the ThoughtSpot OVF and click Next.
The system prompts you to select storage.
-
Choose the SSD as the destination and click Next.
The system displays the Deployment Options dialog.
-
Specify the settings in the table below and click Next.
Setting Value Network mappings Select the correct network for your installation. Disk provisioning Choose Thin. Power on automatically Check this box. -
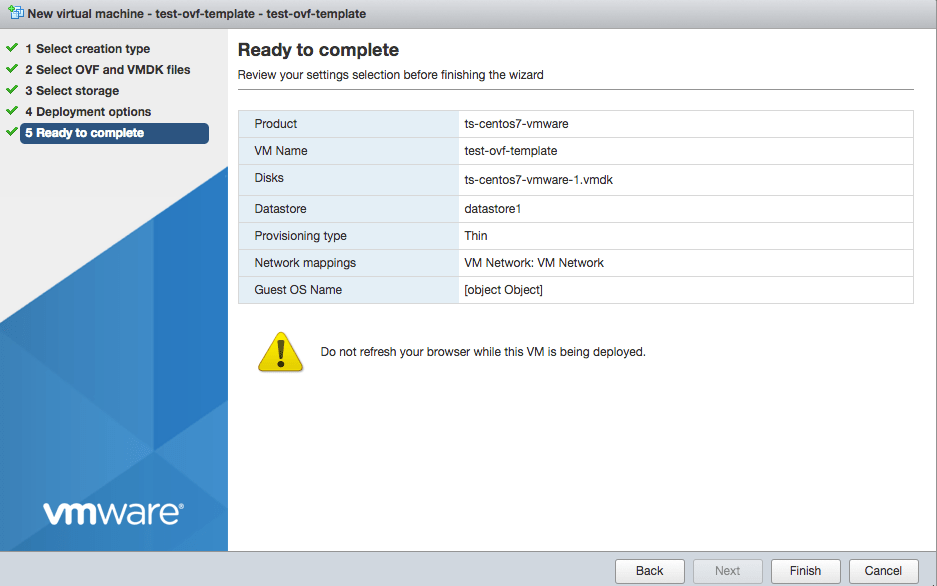
Review your selection and click Finish.
-
Wait for the template to be loaded.
Depending on your network speed, loading can take several minutes.

-
Make sure that the VM is powered off.
Add hard disks to the VM
For most deployments, ThoughtSpot requires you to have three 2TB HDFS disks on HDD (3 x 2TB). If you expect your user data capacity for each VM to be 100 GB or less, you may not need three 2TB disks. Refer to Supported configurations for more information. Follow these steps to create the required 3 2TB hard disks.
-
Edit the VM you just created.

-
Select Add hard disk > New hard disk.
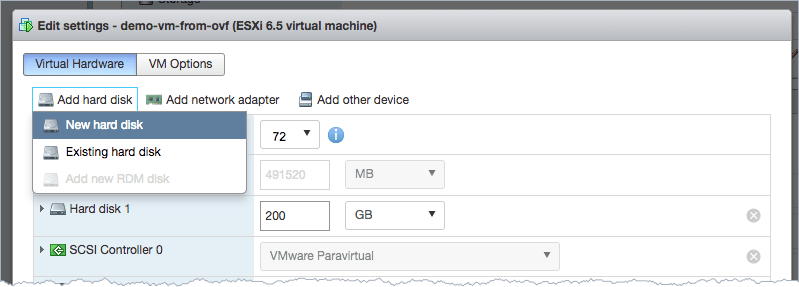
The new disk appears as a new row under the only existing SSD row.
- Click the New Hard disk to expand the detailed configuration options.
-
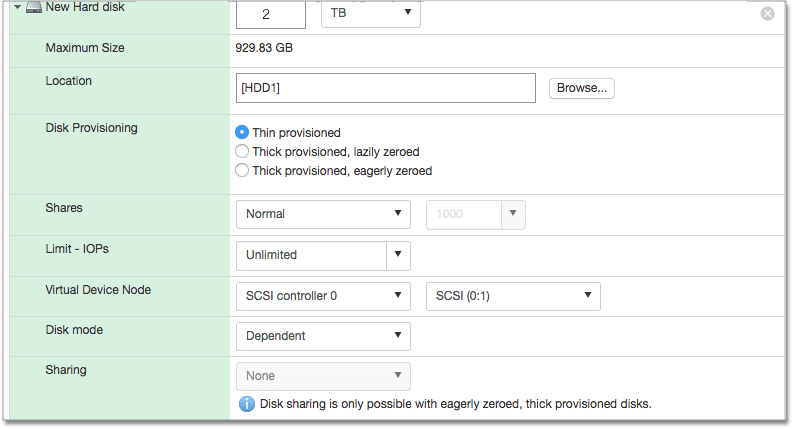
Set the options as follows.
Setting Value Size 2 TB Location Use the Browse button to select the hard disk store.

Thin provisioned Check this box. You should see something similar to the following:
- Save your changes.
- Repeat steps 1-5 to create more hard disks. ThoughtSpot requires 3 hard disks for most environments. If you expect your user data capacity for each VM to be 100 GB or less, you may not need three 2TB disks. Refer to Supported configurations for more information.
- Power on the VM.
-
After the VM is online, run the following command to prepare the HDFS disks:
$ sudo /usr/local/scaligent/bin/prepare_disks.sh
Next steps
There is no network at this point on your VMs. As a prerequisite:
- Verify that Network Adapter type is set to VMware vmxnet3 (Highly recommended).
- Verify that all ESXi hosts in your VMware farm for ThoughtSpot have been trunked to the VLAN assigned to your ThoughtSpot VMs.
- Verify that the console of all ThoughtSpot VMs is accessible in VMware vCenter Server.
Additional resources
As you develop your expertise in VMware VM creation, we recommend the following ThoughtSpot U course:
